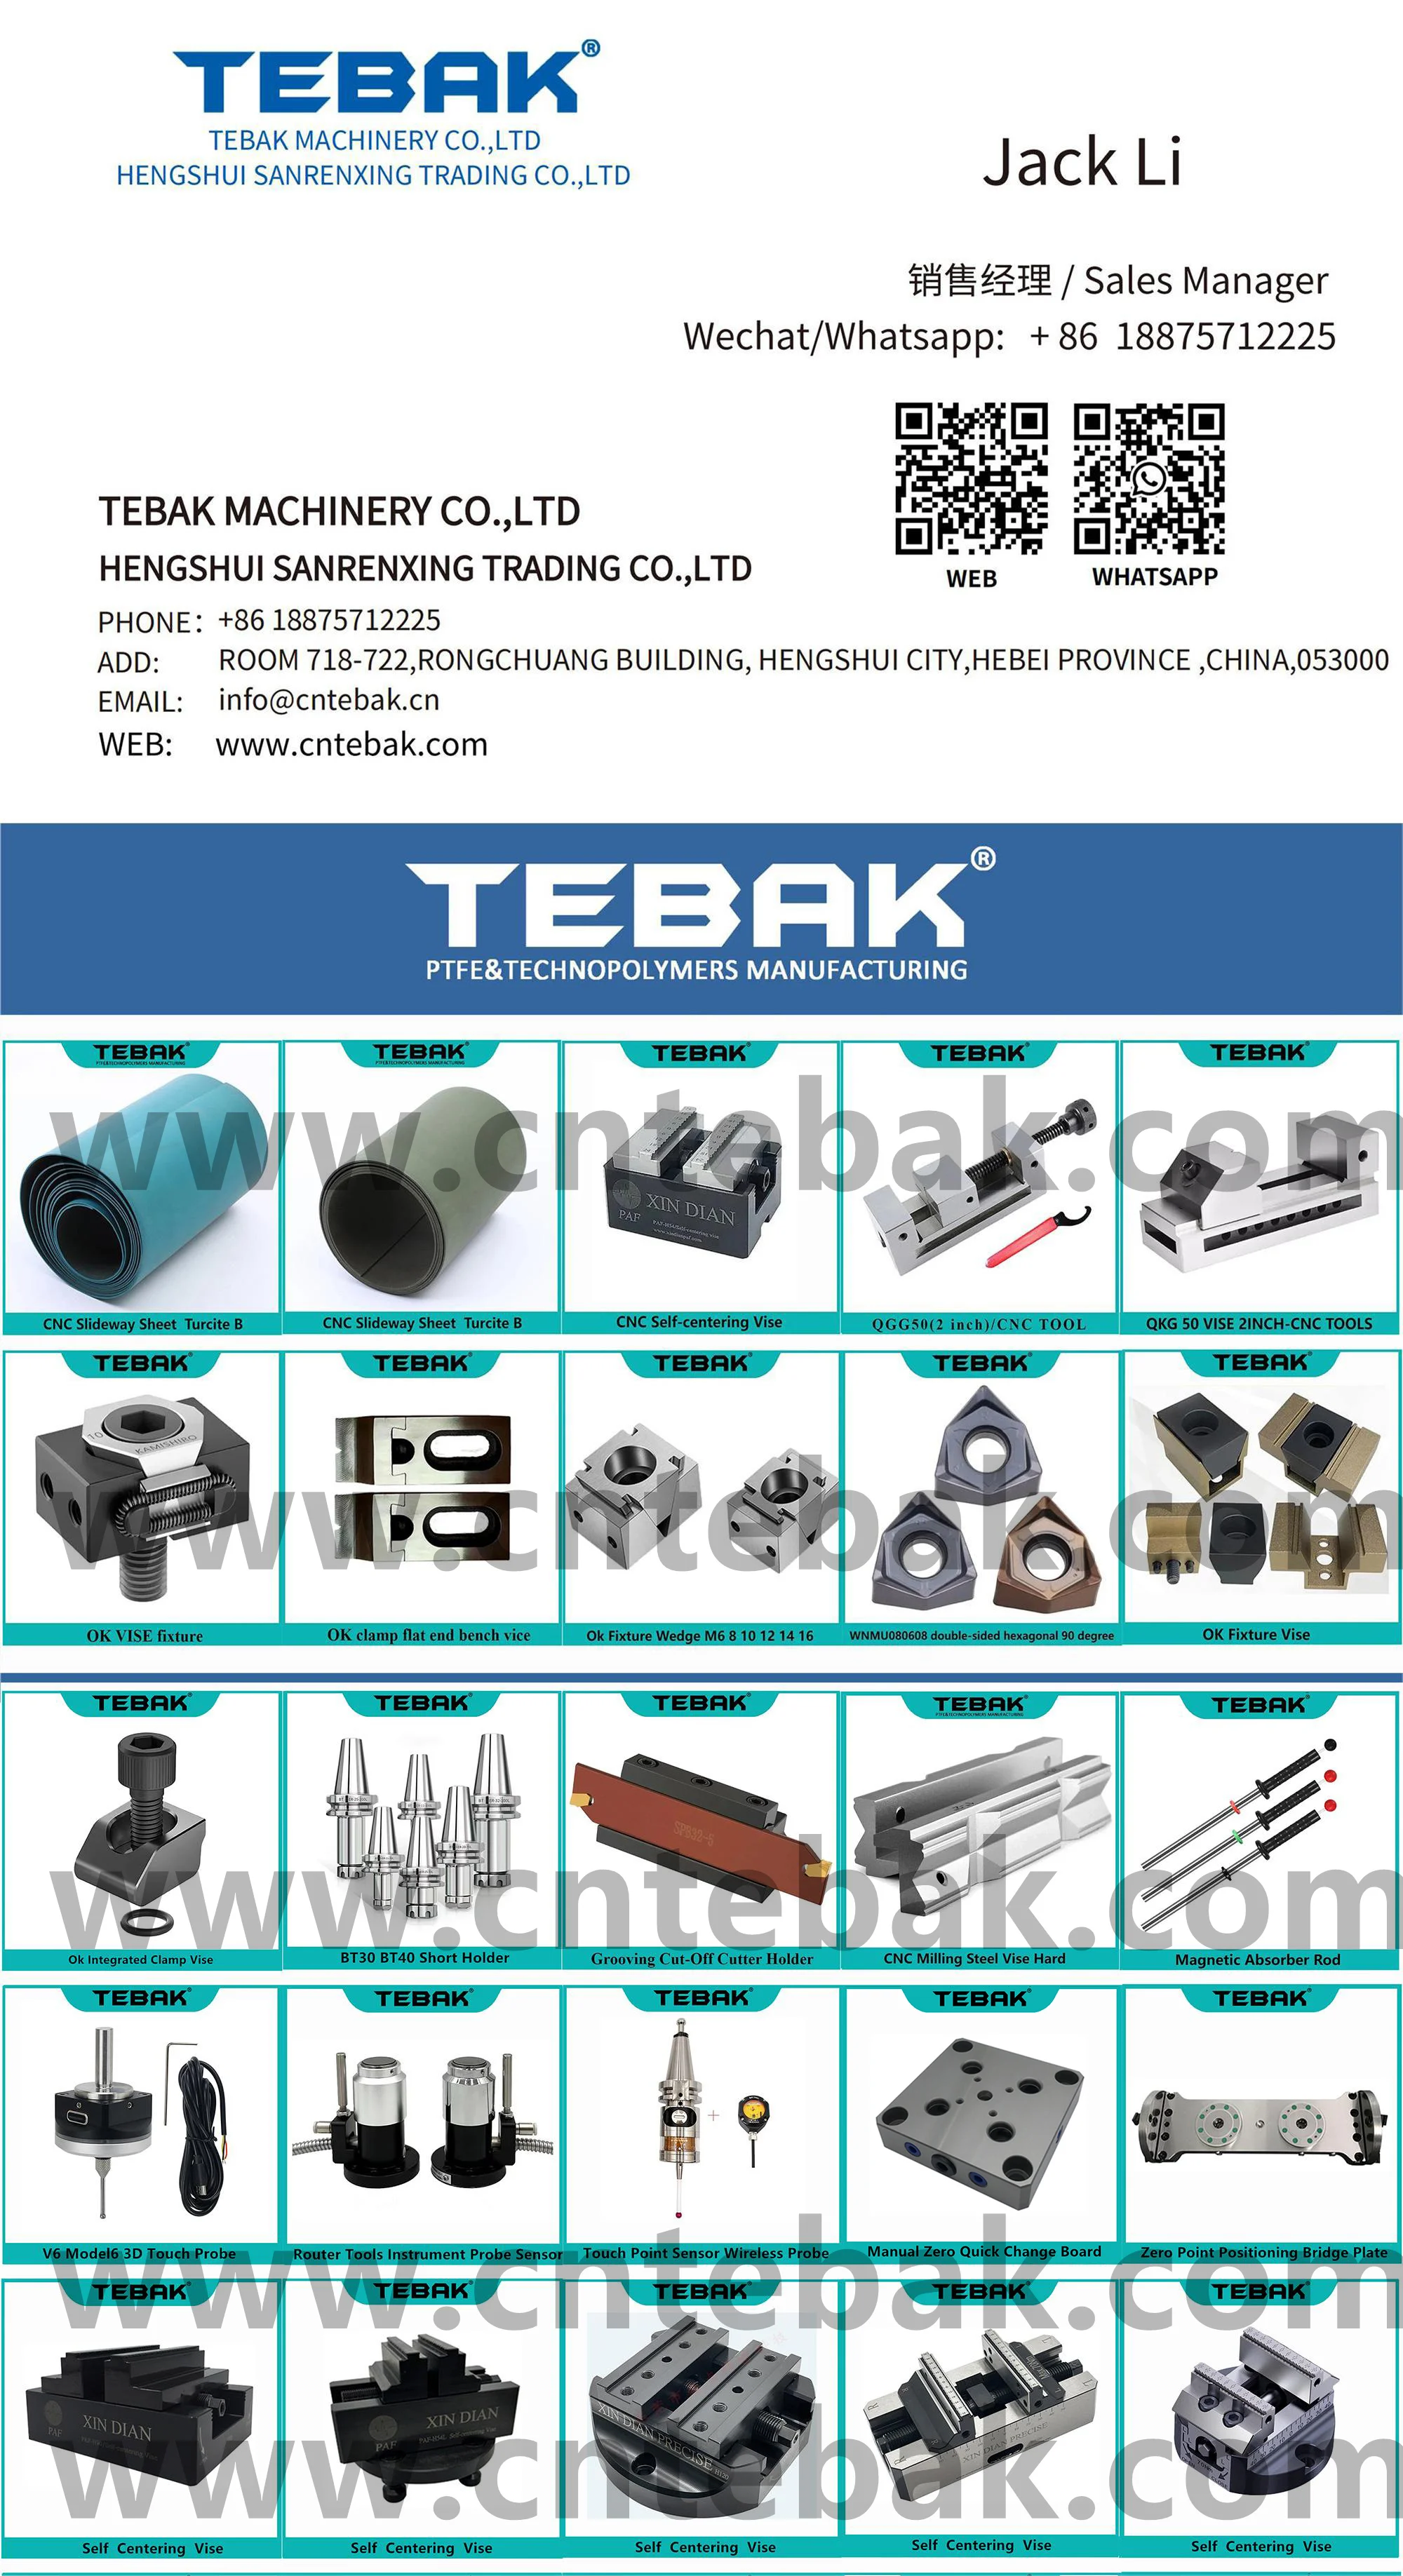
TEBAK
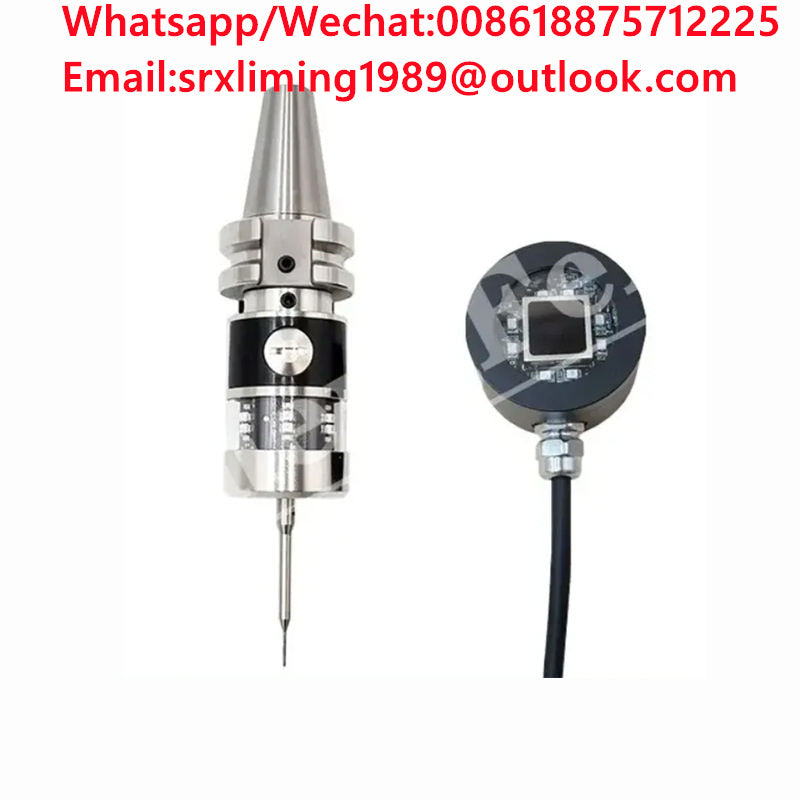
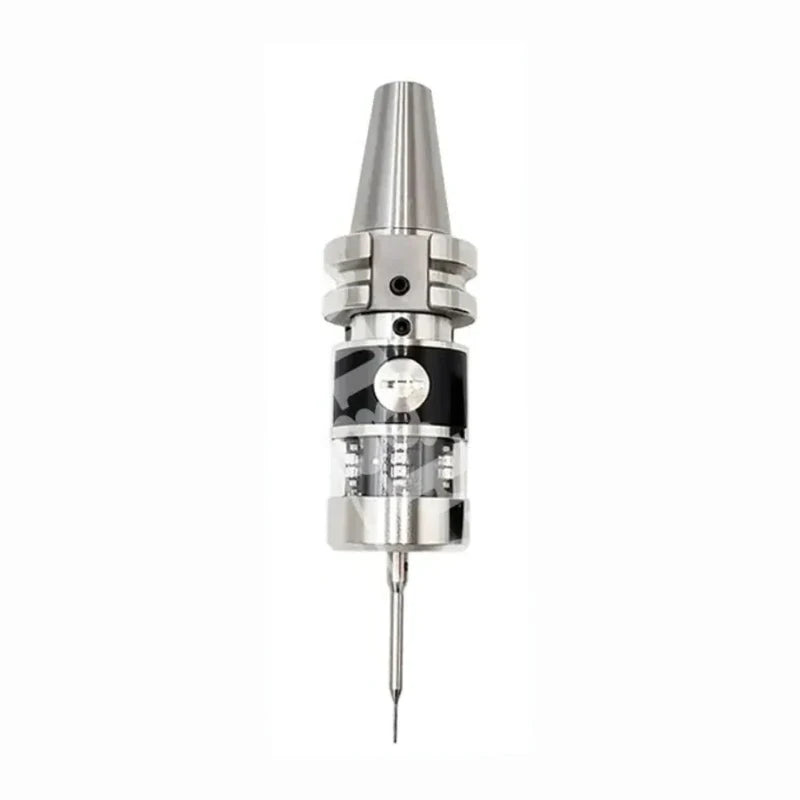
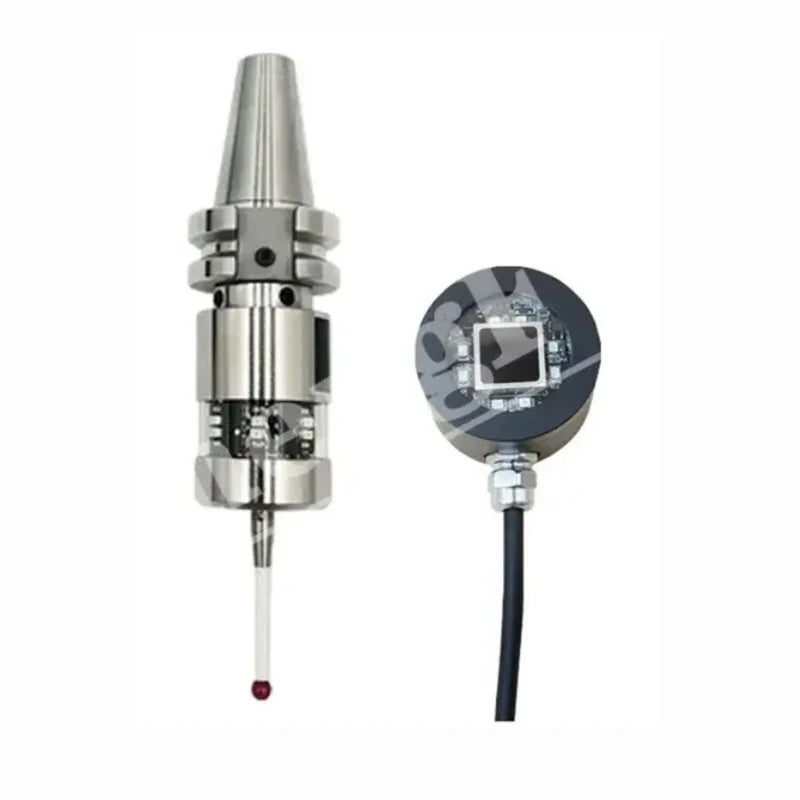
TEBAK MDP40 Renishaw Machine Tool Probe Cnc Machining Center Infrared Signal Sensor 3d Detection Wireless Probe Automatic
TEBAK MDP40 Renishaw Machine Tool Probe Cnc Machining Center Infrared Signal Sensor 3d Detection Wireless Probe Automatic
Couldn't load pickup availability
TEBAK MDP40 Renishaw Machine Tool Probe Cnc Machining Center Infrared Signal Sensor 3d Detection Wireless Probe Automatic
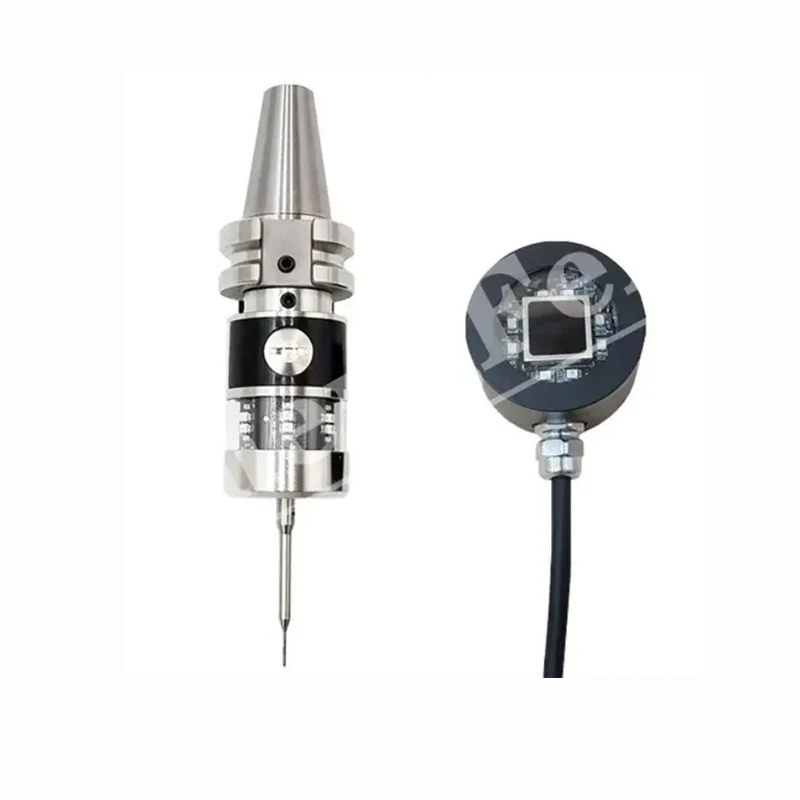
CNC machine tool wireless probe MDP40:
MDP40 is a compact 3D trigger type workpiece inspection probe. The probe and the receiver use two kinds of signal transmission: radio signal and optical signal; infrared dual-channel, remote control frequency change, one-key switching. It is suitable for on-machine inspection of 2D and 3D surfaces of molds on CNC milling machines; batch processing of parts in lathes, grinders, large-size and multi-spindle parts machining factories; workpiece alignment, workpiece inspection, workpiece alignment on small and medium-sized CNC machining centers, Automatic compensation. Significantly reduce the scrap rate and rework rate of parts and maximize profits.

Product description:
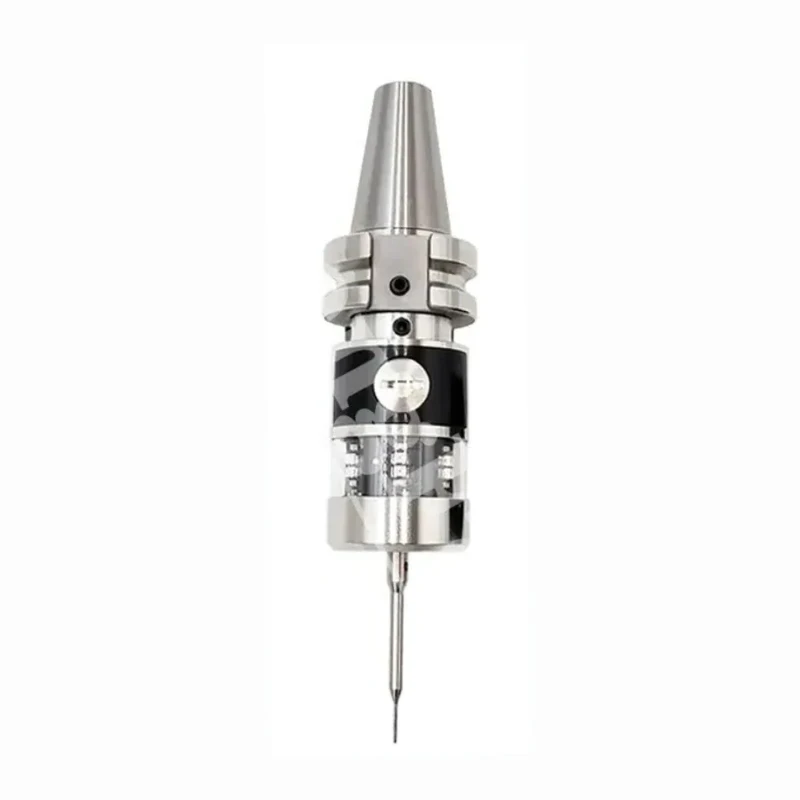
Product name: wireless probe
Item model number: MDP40
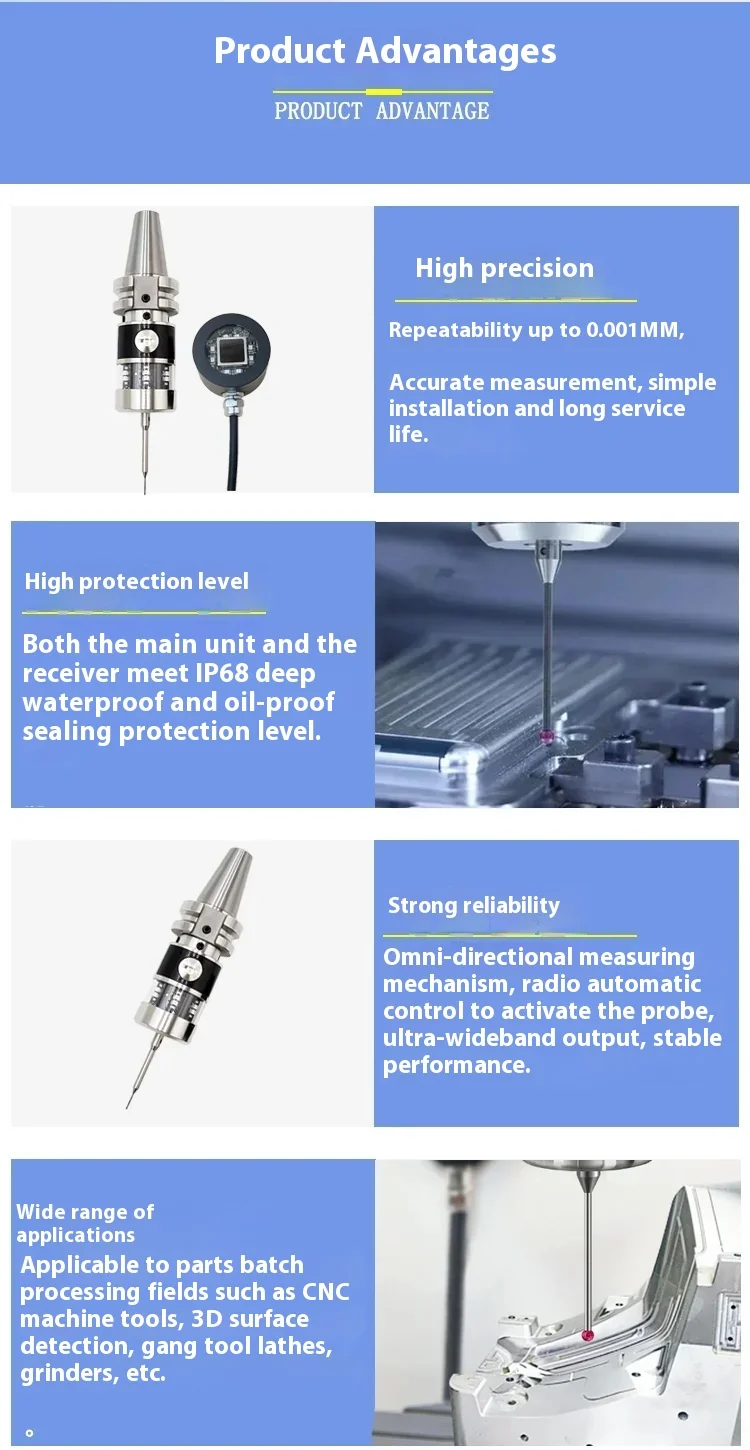
Repeat positioning accuracy: 0.001mm
Signal transmission method: radio/infrared
Trigger direction: ± X, ± Y, -Z
Power supply: 14250 lithium battery (3. 6V)
Body material: Stainless steel
Stylus: Default flat top tungsten steel stylus (thread M4)
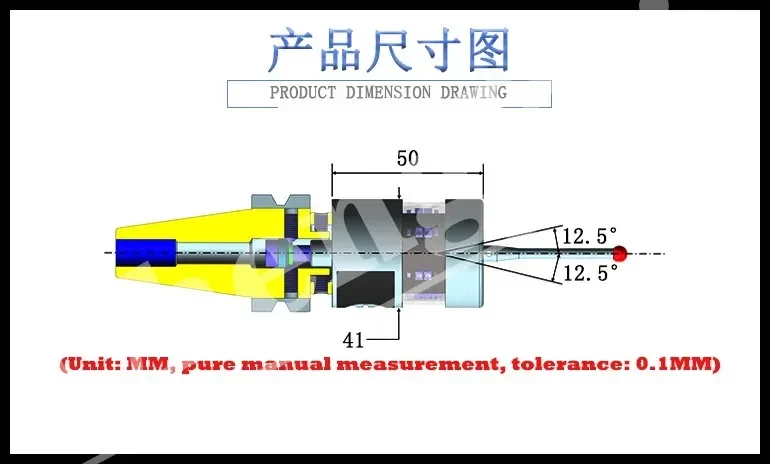
Sample outer diamond: 41MM
Probe length: 50MM
Measuring speed: 500mm/min
Maximum overtravel: XY ± 12.5 °, Z 6.35mm
Trigger force: adjustable
Trigger method: contact
Trigger life: >10 million times
Operating temperature: -10 to 60C
Protection class: IP68:EN60529
Application industry: CNC machine tool, mold industry, mobile phone industry, aerospace, lathe grinder, machining center, electronic field, industrial machinery, rail train, etc.
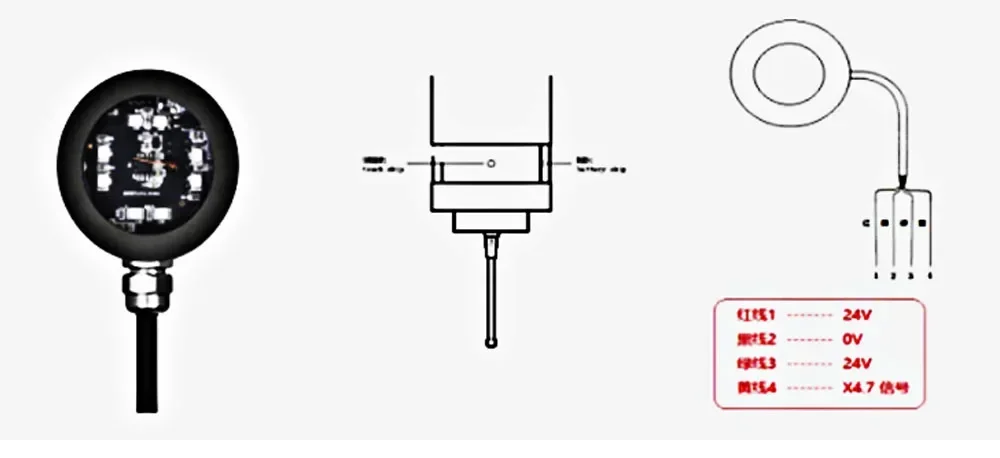
Receiver wiring diagram:
1. Red wire: connect to the 24VDC power supply of the machine tool
2. Black wire: connect to the 0VDC power supply of the machine tool
3. Green line: connect to the COM port of the machine jump signal
4. Yellow line: connect to the machine jump signal port
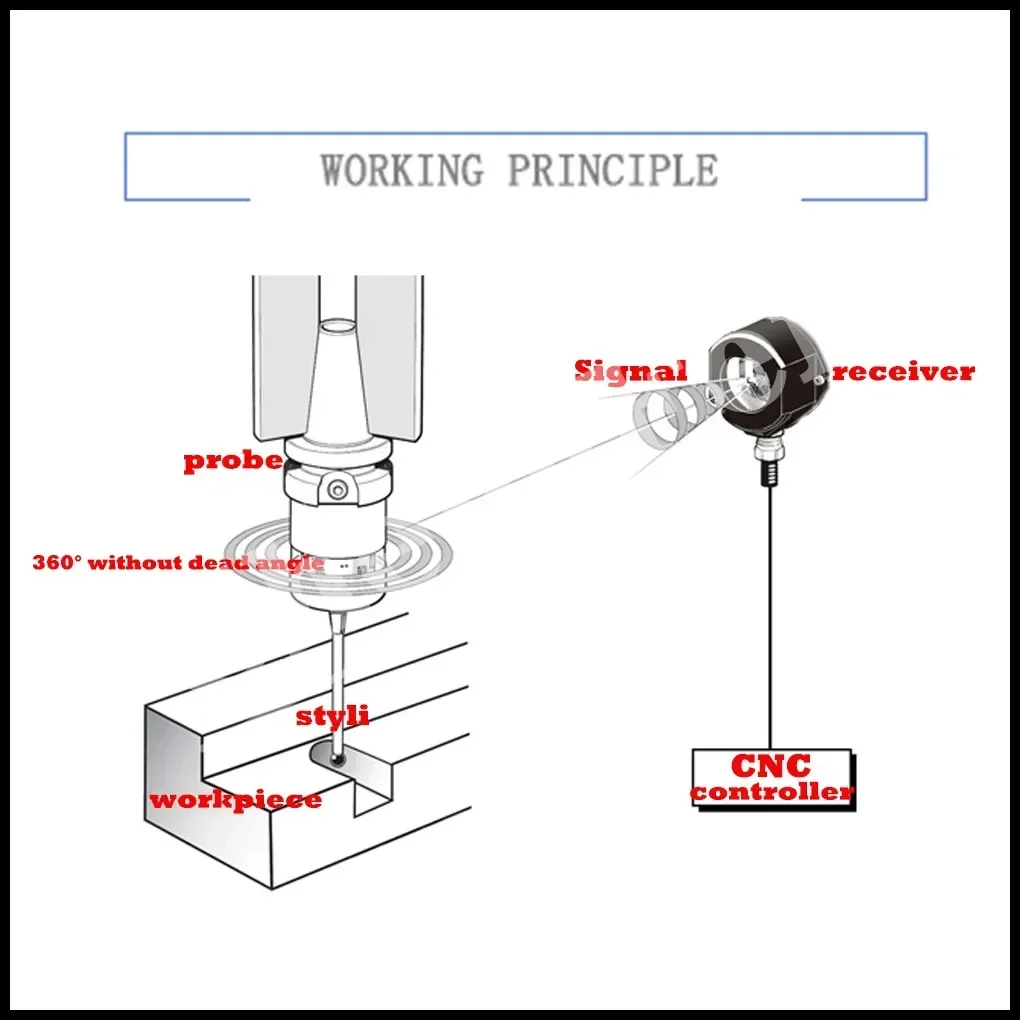
Product function description:
The application and main functions of the probe system:
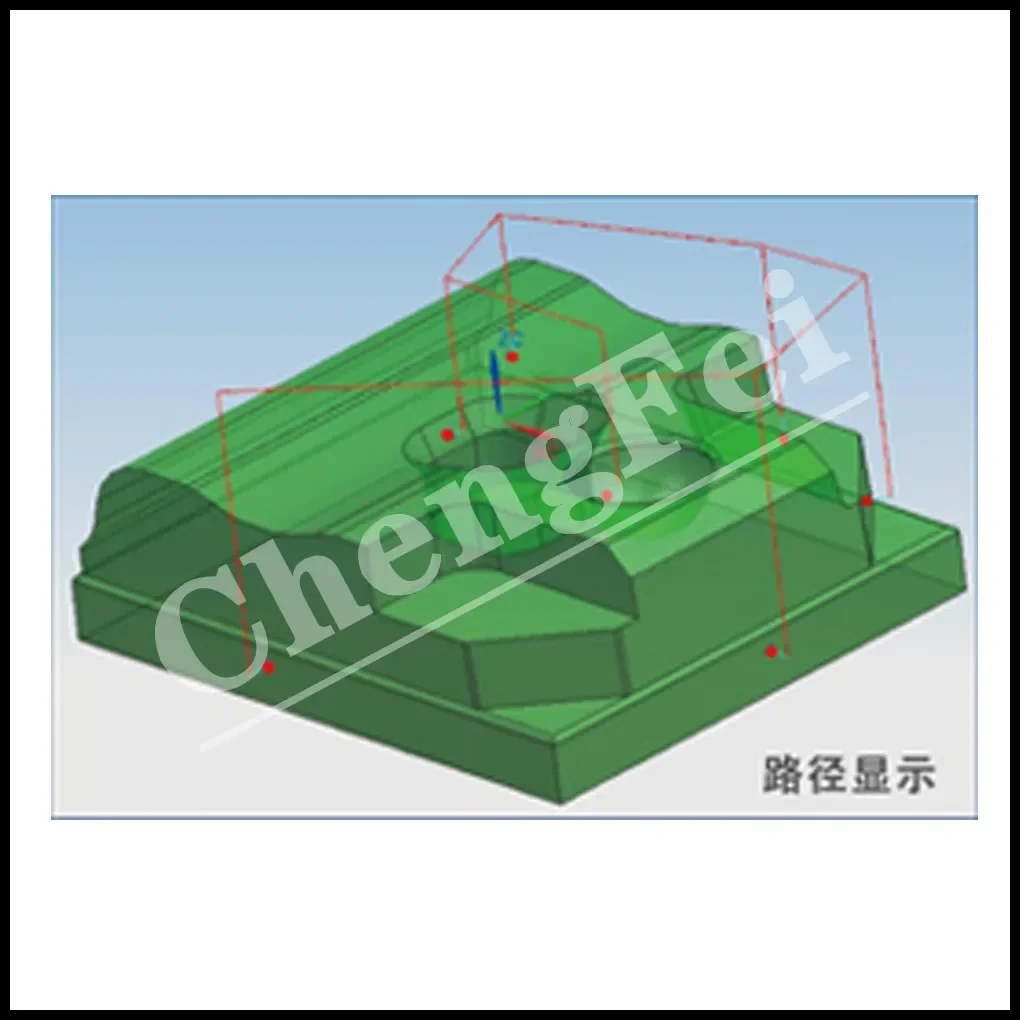
1. Suitable for 3D surface measurement of large-size workpieces;
2. Offline programming in advance, does not occupy the normal processing time of the machine tool;
3. Flexible combination of different length stylus and probe extension rod to complete deep cavity measurement;
4. Automatically set workpiece coordinate system, workpiece automatic detection, automatic alignment, automatic centering;
5. Quickly detect and judge the status of the workpiece and improve the machining accuracy of the parts;
6. Simple and easy to learn, the measurement elements can be defined by clicking with the mouse;
7. Path simulation, anti-collision detection function to ensure that the entire measurement can be
Macro program measurement software package:
3D surface profile error calculation, length, width, height measurement, round hole, cylinder measurement, hole center distance measurement, concave and convex measurement, inner angle, outer angle measurement, probe movement protection, automatic workpiece centering, alignment, tool length, radius measurement , Tool breakage detection.
Probe installation and setting:
1. The probe is installed on the special tool handle, and the adjustment screw on the tool handle is used with the aid of a dial indicator.
Adjust the deflection value of the stylus to within 0.005MM.
2. The receiver needs to be connected to the machine controller.
3. The receiver needs to be fixed on the inner wall of the machine tool
.
4. The receiver has a strong magnet, which can be adsorbed on the inner wall of the machine tool according to the situation.
The adsorption range is that when the cast iron cannot be fixed, it can be bound with a cable tie.
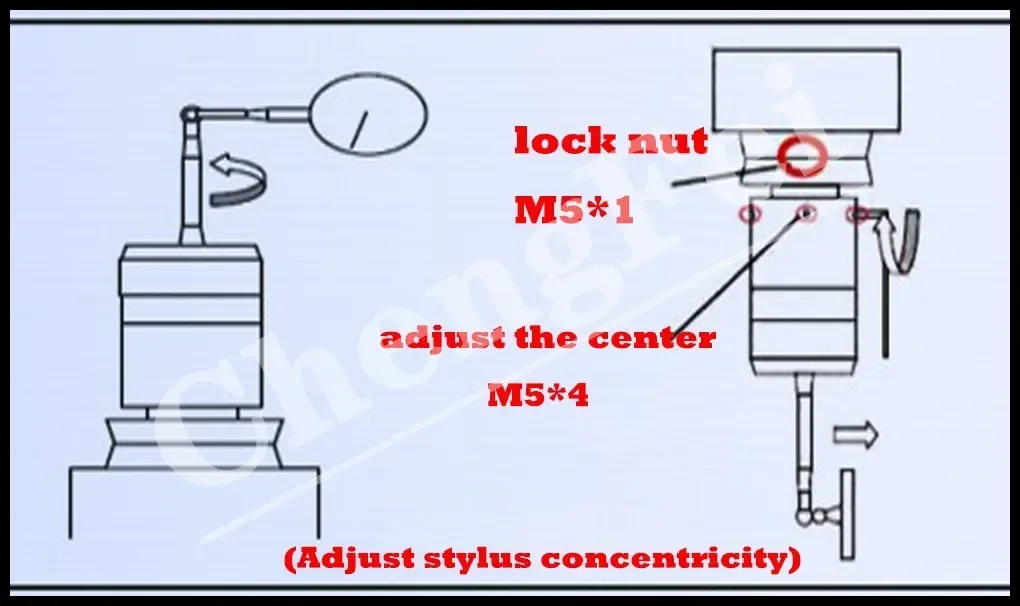
To adjust stylus concentricity:
1. Install the stylus into the machine tool spindle, and the radial highest point of the stylus needs to touch the dial indicator.
And rotate the spindle 360° to observe the circular runout of the measuring rod.
2. Fix the probe on the matching surface of the tool handle through 2 M5*12 pointed screws on the tool handle.
It is recommended to use a torque not greater than 2NM.
3. Then adjust the radial jump of the stylus through the 4 M5*6 flat head screws on the top mounting ring of the stylus
verb: move. (Adjustment method: Loosen the screw in the maximum swing direction, and at the same time the opposite screw
It needs to be locked immediately, and then check the runout value. Loosen the screw in the maximum swing direction.
The opposite screws need to be tightened immediately. This cycle continues until the swing <0. 02MM. )
4. When the swing value is less than 0.02MM, there is no need to loosen the screws in the direction of the largest swing.
, you can directly tighten the direction screw with the smallest swing with a little force until the swing is less than
up to 0.005MM. (When the measurement accuracy is high, it is recommended to control it within 0.002MM.)
5. At this time, tighten the 2 M5*12 pointed screws on the handle again. re-rotate the main
Axis 360° to observe whether the circular runout of the measuring rod is within the ideal range.
6. For the ruby ball needle, the dial indicator must touch the maximum diameter of the ruby ball;
For cylindrical flat-bottomed needles, the dial indicator is generally aligned with the position where the bottom of the stylus moves up by 1-2MM.
Probe length setting:
1. According to the tool setting face of the machining program, select the appropriate tool setting point. hand wheel
*100 gear, shake the stylus to 5-10MM above the tool setting point.
2. Slowly move the stylus down until the blue light of the stylus lights up and flashes, at this time it must be within 5 seconds
Raise the stylus inside until the probe light goes out.
3. Switch the handwheel to the *10 position, and slowly move the stylus down until the blue light of the probe
Lights up and flashes, the stylus must be raised within 5 seconds until the probe light goes out.
4. Switch the handwheel to the *1 gear, and slowly move the stylus down until the blue light of the stylus is on.
up and flashing.
Probe signal communication debugging:
1. Installation of the bottom macro package: input the measurement installation package to the computer through U disk or CF card
Bed memory and locked.
2. Check the confirmation signal before use: through the machine tool signal status diagnosis function, check the
The signal input state when the head is triggered.

Hengshui Mengshang Trading Co., Ltd. is a main professional supplier in Product Machine,CNC Carbide inserts, Turning tools and Milling tools, Our brand is TEBAK, Design and Sales. We insists the principles of "High quality, Competitive price and Excellent service."We are leading OED&ODM manufacture many years of experience in this filed. TEBAK have various kinds of productc and they are 70% for expert. Our customers are from all over the world, such as North America, Europe, South America, the Middle east, East Asia and Africa. The quality control standards are based on ISO9001 certifications. TEBAK relies on advanced automatic machining center and complete testing testing method, control all aspects of production and operation according to the standard process. We have an outstanding team of designers to continuously launch innovative product design, in order to meet the needs of the international marked. Welcome send inquiry to us, we will provide high quality products and excellent service for you!